Travelling again. So a blog post instead of webcomic this week. (Please bear with me. ^_^;) In addition I’m finally going to update the Characters page of the website later this week. Look forward to it if you have been annoyed by the “nothing here yet” text.
As some people have suggested me that it could be a good topic for a blog post, I’ll write about the typical workflow of a page of “ΔS”>>. (Only on a general level, though, and focusing on the steps done with computer; otherwise the post would become quite long.)
In short, this post is mostly about flatting (as well as the steps before and after it). It isn’t anything I have come up with by myself, neither is the workflow described below meant to be a tutorial of any kind. (You may regard it as such if you want, but there are other, better tutorials out there. Like this and this one.) This is just a description of how I work.
Without further ado, to the actual blog post:
The general workflow of a page after drawing it
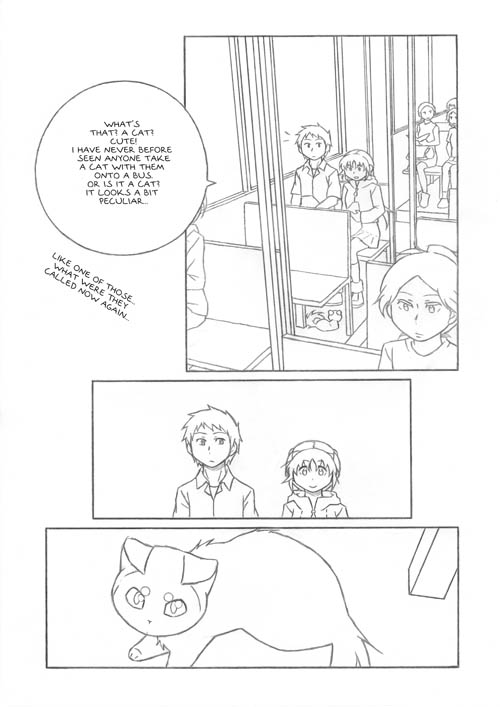
1) Scanning and resizing the page
The original paper size is A4. After scanning it (600 dpi) I change the size to A5.
2) Cleaning up the line drawing; adjusting brightness and levels; lettering
For lettering I use a font that I made myself. (In the Japanese version, however, I use MS Mincho and occasionally MS Gothic, as well as hand-written text.)
3) Flatting
Mode: RGB
Resolution: 300 dpi
Number of layers: Usually three (one for colors, one for the line drawings, one for additional lines), sometimes more
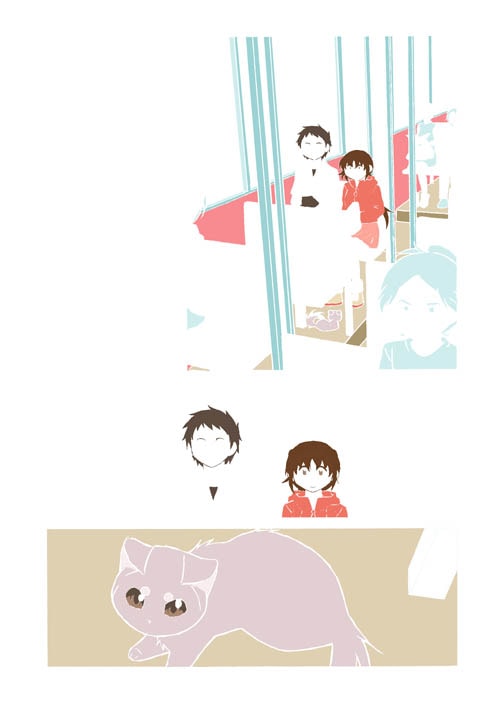
The color layer is beneath all the other ones, and the line drawing layer above it is set to “multiply”. It doesn’t really matter what colors are used, as long as they are distinct, since their only function is to make selection of areas easier. (It’s not like I’d ever use that kind of colors for bus interior…)
This step usually takes a lot of time.
4) Colors-only version of the page
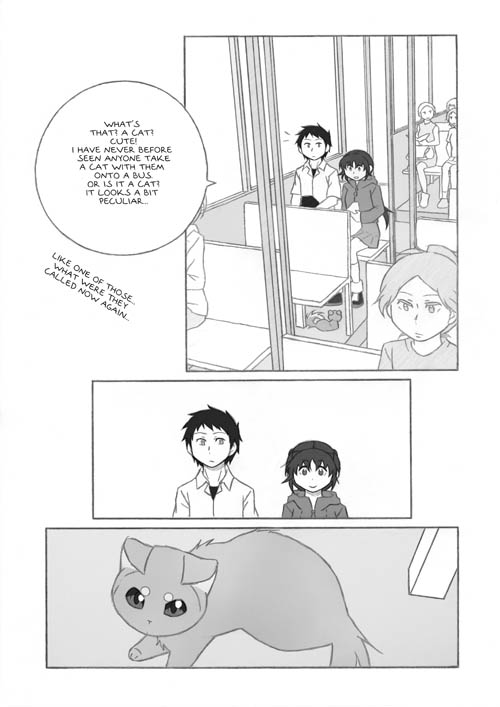
5) Adding gray textures
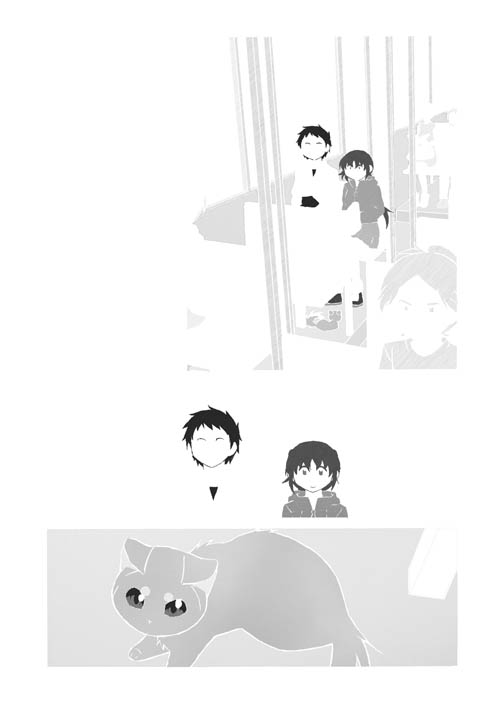
Mode: RGB at first, grayscale at the end
Resolution: 600 dpi
Number of layers: One initially, several while working, one again at the end
Copy-pasting gray textures into the colored surfaces.
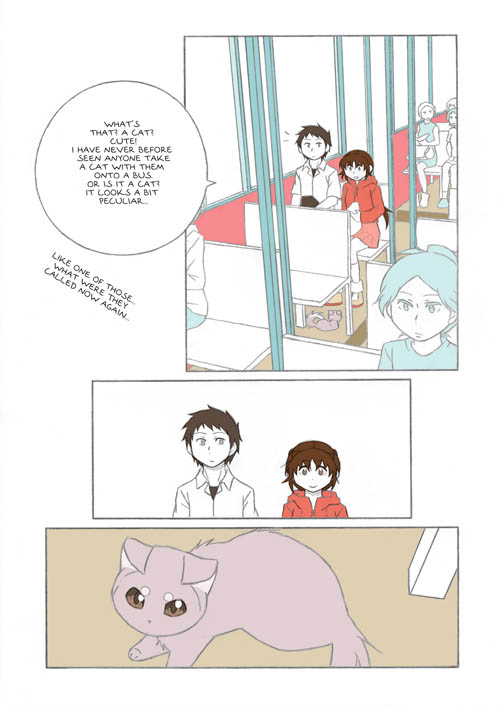
6) The final version
Here the line drawing from step 1 is combined with the gray textures from step 4: I start by copying the gray textures layer and placing it beneath the line drawing, after which I set the line drawing layer to multiply. (This is by far the nicest part of the whole working process.) If the page looks ok, I flatten the image into a single layer.
***
Just a random thought that occurred to me a while ago: If there are people who find their way here through search engines, they are most likely looking for something thermodynamics-related information instead of a webcomic that… at this point probably appears to be about falling spider plant plantlets, or something along those lines? ^_^; (It isn’t… Or, well, I guess it depends on the way you look at it.)

