I won’t have scanner or drawing tablet at hand for a while, so in order to add at least some content to the site I’ll write a blog post. I have written about behind-the-scenes workflow previously too, but unlike in earlier posts this time I will make an attempt at describing the whole process, from start to finish.
I don’t know whether this will be of any value for others as an example (it’s not even the point of this text; my webcomic is pencil-written, processed-photos-instead-of-screentones oddity anyways), but from time to time I get the chance to explain this project/hobby to someone, and… well, as my verbal presentation skills have quite a lot of room for improvement, I usually end up (figuratively) face-palming at my own explanations. But if I put those things on paper here, it helps me to organize my thoughts and thus express them better from now on. Maybe. Also, if I’m lucky, some visitors of the site might actually read this post too.
So, on to the actual topic. The workflow of making this webcomic can be summarized as following steps (listed in a somewhat chronological order):
1. Jotting down ideas
This is something that I always do when I get an idea I may want to use somewhere. And ideas come when they come, usually when you are about to go to sleep or in the middle of taking a walk. (Trying to actively come up with an idea or a solution to something is important too, but the thing you’re trying to figure out (or something completely unrelated but still useful) often comes to mind some time later, when you’re not actively trying to think about it anymore. The brain continues to work on the problem on its own, which is kind of convenient.)
2. Writing the characters and the plot
Characters and plot could be considered their own separate steps – in which case characters would precede the plot, as the latter cannot exist without the former (especially not in a story this character-driven) – but since characters and plot are often so tightly intertwined, I regard them as one single process.
Each one of the character cast of “ΔS”>> has their own image folders and files, as well as a Word file containing various notes. For the main character and deuteragonist I have written short introductory blog posts too.
I’m not sure if I belong the minority or majority on this aspect (the one thing I know for sure is that I’m not the only one thinking this way), but it’s the characters that are making the story move, not me – I’m only an observer trying to find out what happens with this setting, these characters and an outline of a plot. In that sense I’m also a reader of this story myself. And it’s fun. (Which is really the reason I’m making this comic in the first place.)
For me writing the plot is like assembling a jigsaw puzzle (one that doesn’t have a single particular correct outcome) the pieces being the previously jotted-down ideas (scattered in different places on paper notes, text and Word files…), and trying to make sense of it. Might not be the most efficient way to write a story, but at least this way I can make use of the scenes etc. I’ve already come up with and that like, without trying to forcibly come up with something interesting… But on the other hand, making the story cohesive has been causing me a headache a few times XD
3. Planning the layout of the pages
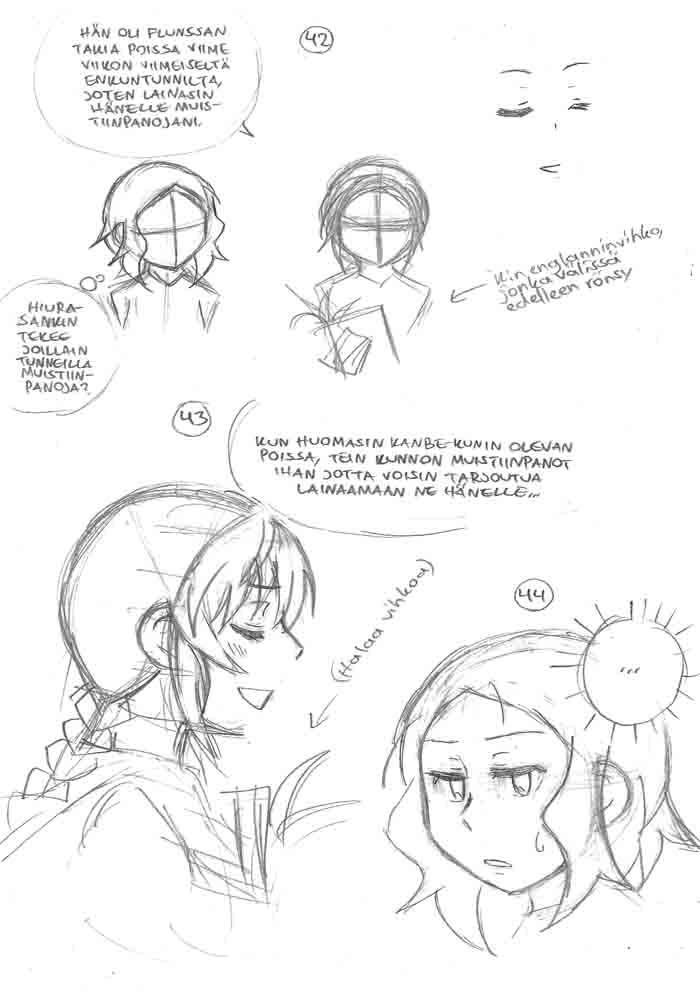
I usually first just think about angles and draw the characters, dialog etc. on an A4 without worrying about the panels or pages.

Chapter 10 spoiler(?) that I previously uploaded on Twitter
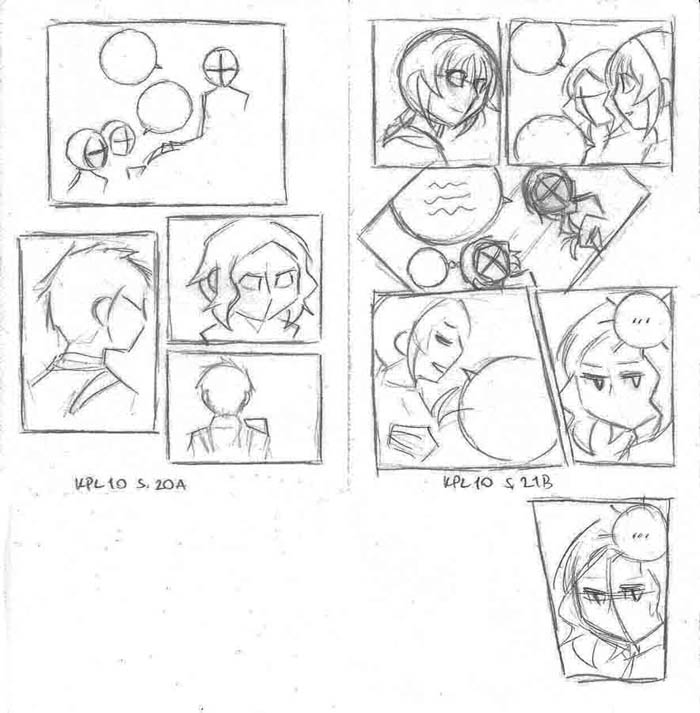
When I have accumulated content for worth of a few pages, I start planning the actual layout: I decide what I want to fit into a particular page or spread, and try to figure out how it could be arranged so that it would both look nice and be easy to read. (I do not always succeed in this.)

The panel layout usually looks something like this. The scene is same as in above image.
4. Background work
I’ll return to this part later. The topic is long enough to deserve its own blog post.
5. Drawing the pages
I draw the line drawing with pencil on A4-sized paper, after which I scan the page, and edit it a bit (i.e. clean it up and adjust contrasts).
6. Lettering
Not anything special to mention on this. Only that I use a font made by myself. (I’m – albeit reaaaally slowly – creating a new one to replace it though, as I’m not so content with the current version.)
… And that the lettering used to be quite tedious for Japanese version – what with writing the text and arranging the rows in Word, taking a screenshot and pasting the thing on a page… and repeating the process until the result looked good enough. This was because I couldn’t write vertical Japanese with Photoshop directly. I guess the process might be easier now with Clip Studio Paint.
7. Flatting and adding textures
I have written on the process of flatting here, and on textures here.
***
That’s about it.
Part 2/2 will be about background work, a thing that I omitted in this post and that in fact (at this point anyway) comprises most of the working hours used on creating this webcomic.
